Quick Start
To get started quickly, use the section below that corresponds to your operating system to download the Volt4 installer, then follow the install instructions.
Windows
Click on the link to download the package.
Once downloaded, use the File Explorer to locate the downloaded file named voltUp.exe, and then double-click on it and follow the on-screen instructions.
You may be prompted to confirm that you wish to run an application from an unknown publisher, click run to continue.
MacOS - M1, M2, M3
Click on the link to download the package.
Once downloaded, open a terminal window and navigate to the downloaded file.
For example, if you downloaded the file to your Downloads folder:
cd ~/DownloadsIt is necessary to change some of the package attributes to allow it to be executed:
chmod +x ./voltUp && xattr -d com.apple.quarantine ./voltUpThese steps are necessary because the package isn't currently signed with an Apple developer certificate. This will be fixed in an upcoming release.
You can then run the installer directly from the terminal and follow the on-screen instructions:
./voltUpMacOS - Intel
Click on the link to download the package.
Once downloaded, open a terminal window and navigate to the downloaded file.
For example, if you downloaded the file to your Downloads folder:
cd ~/DownloadsIt is necessary to change some of the package attributes to allow it to be executed:
chmod +x ./voltUp && xattr -d com.apple.quarantine ./voltUpThese steps are necessary because the package isn't currently signed with an Apple developer certificate. This will be fixed in an upcoming release.
You can then run the installer directly from the terminal and follow the on-screen instructions:
./voltUpUbuntu
Choose the most appropriate version for your operating system version and architecture, then click on the link to download the package.
Once downloaded, open a terminal window and navigate to the downloaded file.
For example, if you downloaded the file to your Downloads folder:
cd ~/DownloadsIt is necessary to change some of the package attributes to allow it to be executed:
chmod +x ./voltUpYou can then run the installer directly from the terminal and follow the on-screen instructions:
./voltUpIf you see errors relating to missing shared object files, you may need to install additional dependencies using the following command:
sudo apt update && sudo apt install libxcb-cursor0 libpcre2-16-0 libglu1-mesa-dev '^libxcb.*-dev' libxkbcommon-dev && wget http://security.ubuntu.com/ubuntu/pool/main/i/icu/libicu66_66.1-2ubuntu2_amd64.deb && sudo dpkg -i libicu66_66.1-2ubuntu2_amd64.deb && rm libicu66_66.1-2ubuntu2_amd64.debAndroid

A pre-release version of a Volt4 client application is available for Android. This is a self-contained APK that must be side-loaded onto your device.
This is a pre-release version of the Android client. It is not yet available on the Google Play store.
To install the APK, download it to your device and then open it using the Android package installer. You may need to enable the installation of apps from unknown sources in your device settings.
SDK packages
For headless systems such as routers, Raspberry Pis and cloud servers, it might be desirable to install the platform without using a GUI-based installer. In this case, the SDK is available as a set of packages that can be installed via the command line.
See the links below for the available packages:
- Debian arm64
- MacOS (Apple silicon)
- MacOS (Intel)
- Omnia Turris
- Raspberry Pi buster/32 bit
- Ubuntu 24.04/x86_64
- Ubuntu 24.04/arm64
- Windows
With the exception of Windows, the SDK is currently distributed in the form of a self-extracting archive. To install the SDK, navigate to the downloaded file in a terminal and execute it, then follow the prompts. Note you may need to add ‘execute’ permissions to the downloaded file in order to be able to run it, see the chmod command in the example below.
The Windows installation is an NSI package. To install it, download the package and then double-click on the downloaded file and follow the on-screen instructions.
Use the --help switch to see the full instructions. For example, assuming the downloaded SDK is called pi-buster.sh and is in the folder ~/Downloads:
cd ~/Downloadschmod +x ./pi-buster.sh./pi-buster.sh --helpTypically, it makes sense to first create a folder to receive the extracted SDK, and then run the extraction using the --prefix option:
mkdir voltSDK./pi-buster.sh --prefix=./voltSDKRun
There are two tools that help with managing and interacting with a Volt4. The most straightforward (and recommended for beginners) option is via the fusebox, a graphical user interface (GUI).
The alternative is using the volt command line interface (CLI). This is a powerful tool that can operate in both ‘client’ and ‘server’ modes. It is useful when peforming tasks at the script level, or for running a Volt4 on a limited resource or headless/embedded device.
Both of the above binaries are located in the installation folder.
It is possible to run a Volt4 on a headless device using the command line (or as a daemon) and connect to it via the fusebox from another machine on the network (similar to remote desktop applications).
fusebox
You can launch the fusebox from the command line or using the usual operating system file explorer or finder.
Assuming you installed the Volt4 in the ~/Downloads/volt folder, you can launch the fusebox from the command line as follows:
cd ~/Downloads/volt./fuseboxIf you're running Ubuntu 18.04 you may see an error about `libstdc++6` and `GLIBCXX`. This indicates an updated version of `libstdc++6` is required. You can install this using the command below:
sudo add-apt-repository ppa:ubuntu-toolchain-r/test && sudo apt upgrade libstdc++6When the fusebox first starts it will prompt for you to create and confirm a password.
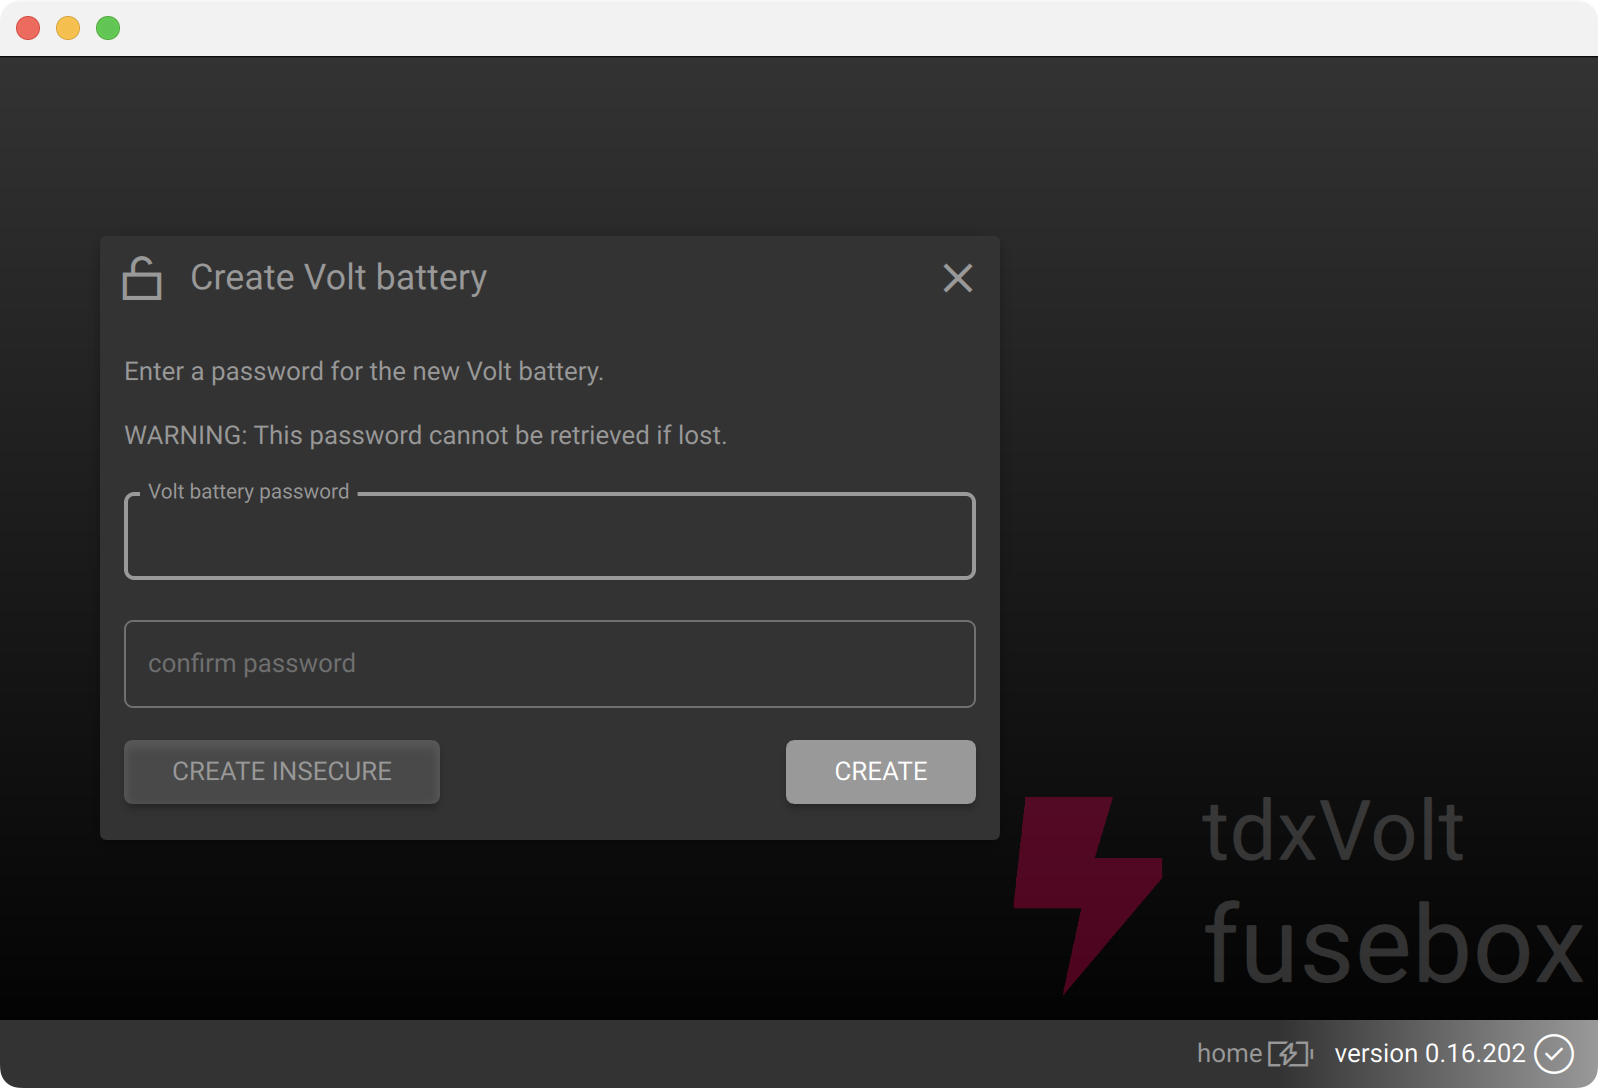
This password can not currently be recovered or reset. Future versions may provide the ability to pre-rotate your key.
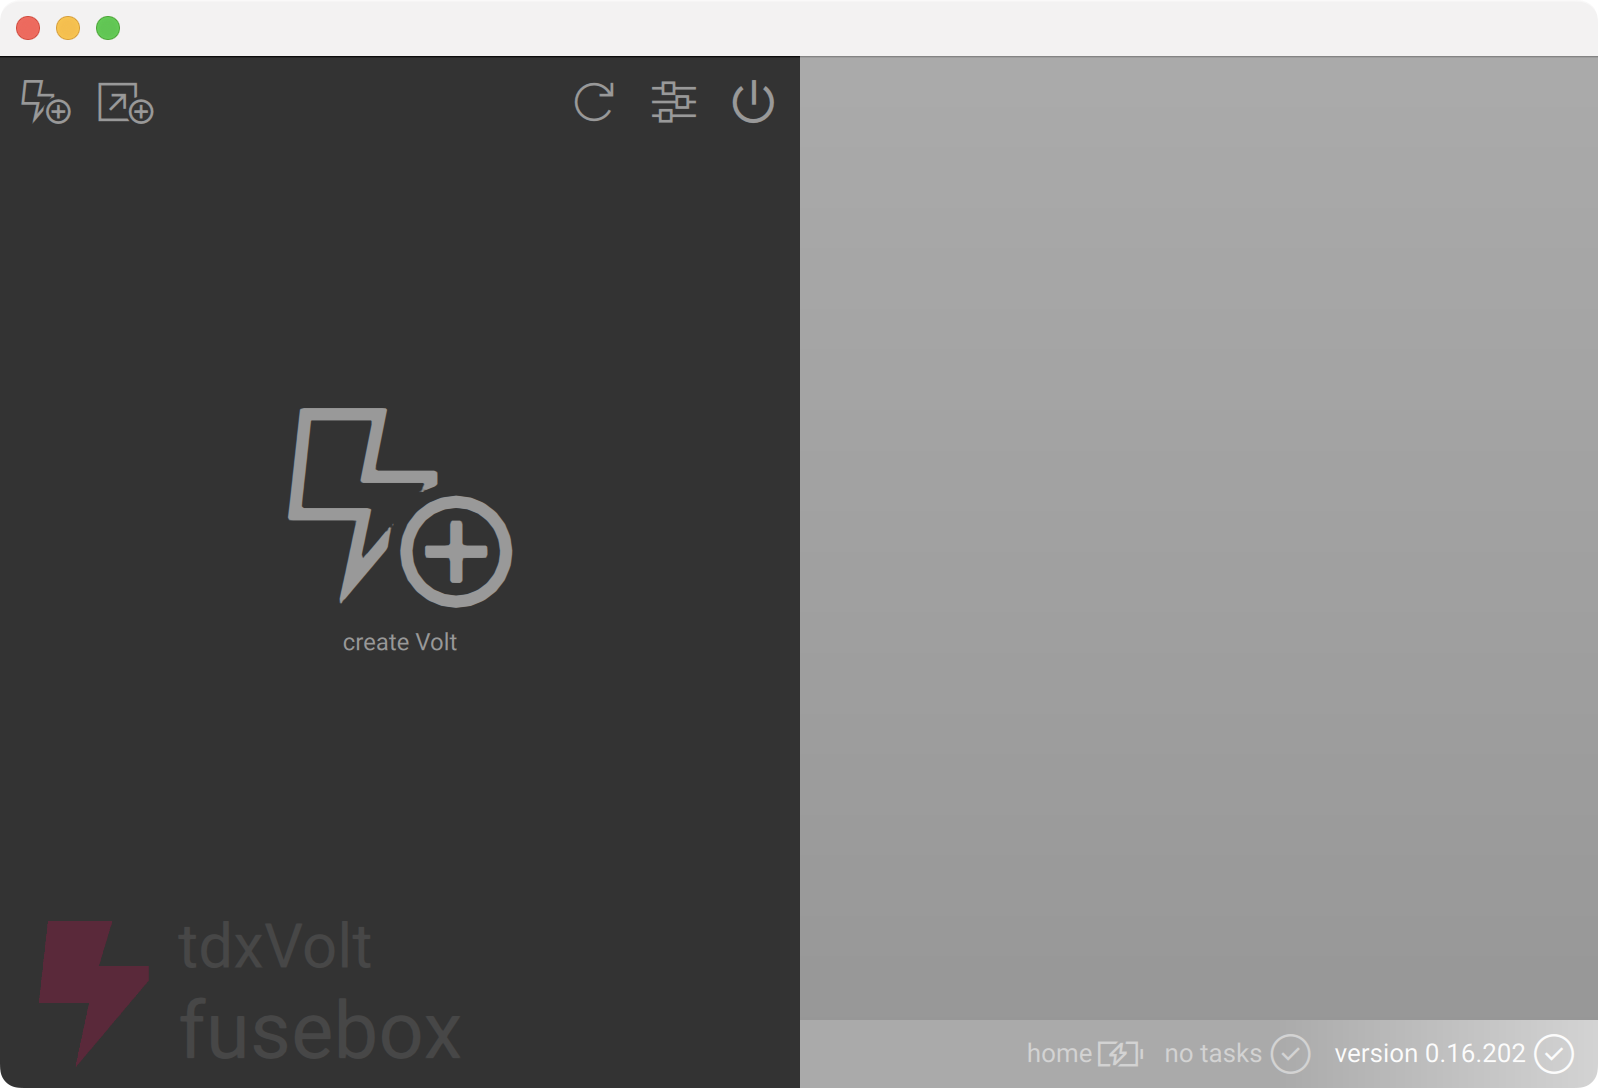
After creating the password, you can go ahead and create your first Volt4 by clicking on the big create Volt button:
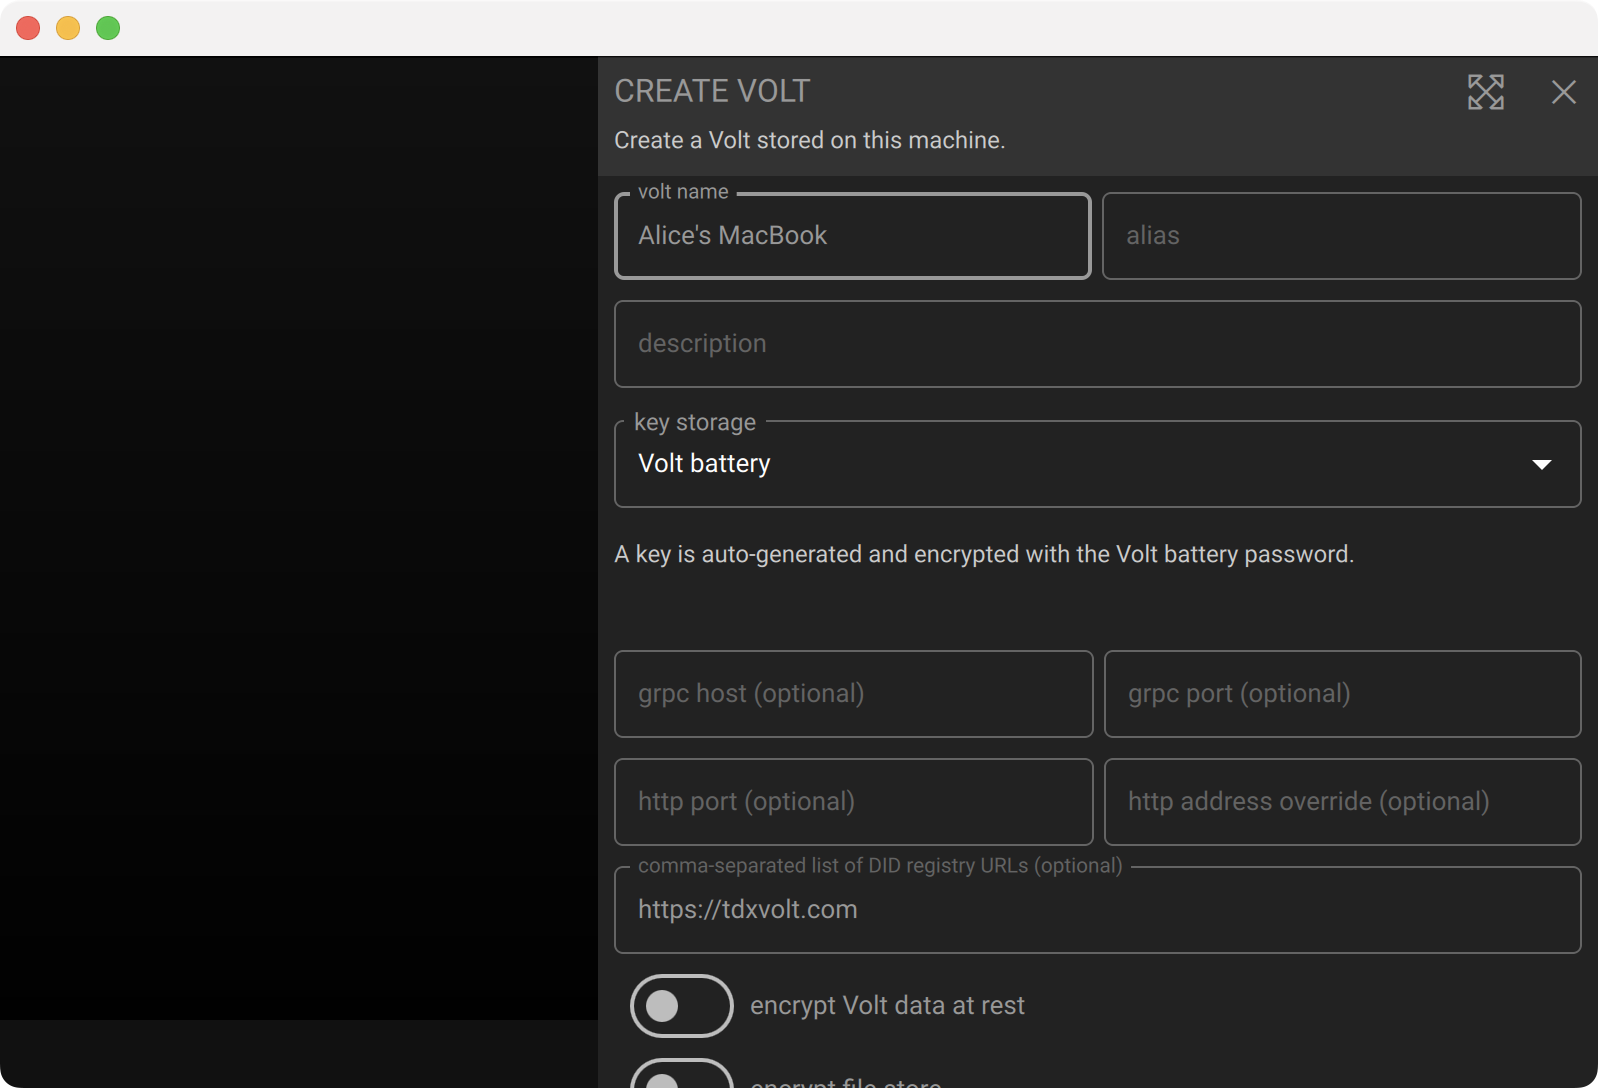
Enter a name for the Volt, ignore the other options and click create (you may need to scroll down to see the create button):
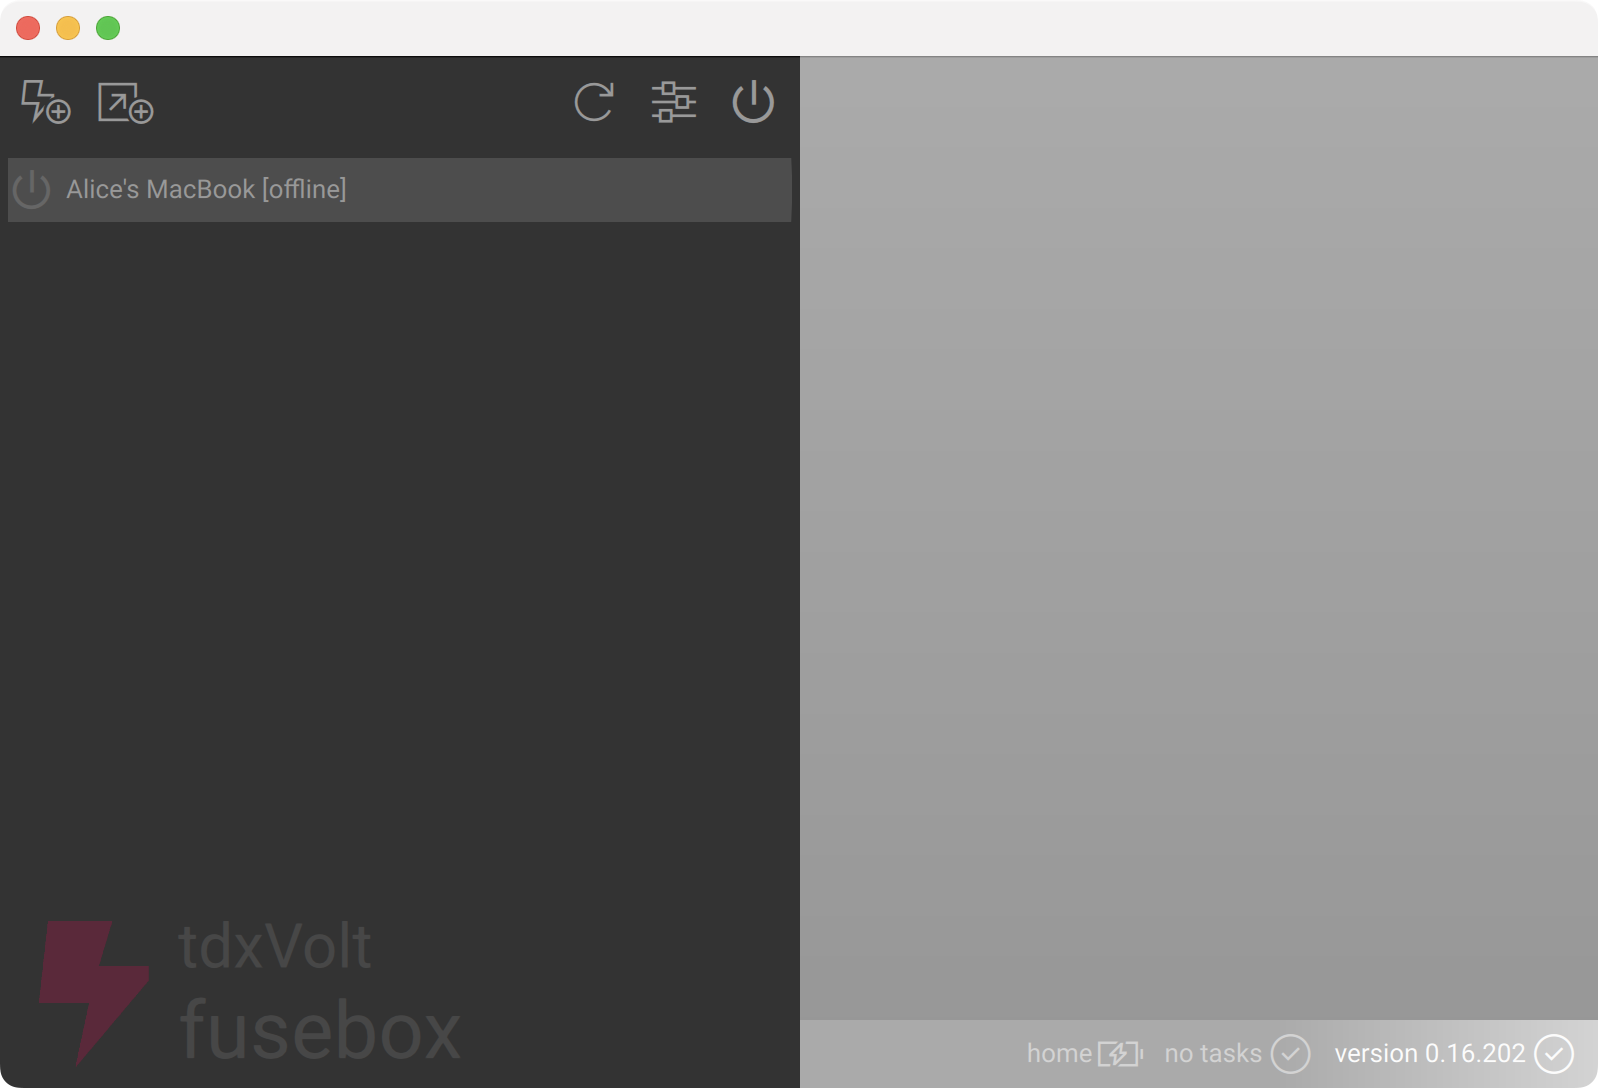
You have now created your first Volt4 - click on the Volt4 in the left column to navigate to the Volt4 browser.
Command line
You can also create and start volts using the command line tool.
Volts created and run via the command line are fully functional in the same way as those created via the fusebox. However there are currently limited management options exposed by the command line interface. The options available will be increased in the near future.
show CLI create options
Assuming you installed the Volt4 in the ~/Downloads/volt folder, you can view the available options for the create command as follows:
cd ~/Downloads/voltvolt create --helpcreate a Volt
To create a Volt4 from the command line, it’s as simple as:
volt create "Alice's MacBook"It’s advisable to specify an alias when creating a Volt4 from the command line. This will make it easier to refer to the Volt4 in future commands.
volt create "Alice's MacBook" --alias alicestart a Volt
You can then use the alias to start the Volt4:
volt run @alicelist Volts
You can list the available Volt4s on the system using the config command:
volt configSee the CLI documentation for more details of the command line interface.
Next steps
You now have a Volt4 running on your machine. You can use the fusebox to manage the Volt4 and create additional Volt4s.
Learn about uploading files to your Volt4 in the uploading files guide.