Create a Volt
A Volt4 can be created using either the command-line interface (CLI) or the fusebox.
cli
Use the create cli command:
volt create --helpThe most simple way to create a Volt4 from the command line is shown below.
In this example, the Volt4 will be created in the default Battery, with no password protection or encryption on either the Battery storage or the Volt4 itself.
volt create "Alice's laptop"Using a YubiKey Hardware Security Module (HSM)
Use the hardware key strategy to create a Volt4 that uses a YubiKey HSM to store the root key.
The -k switch specifies the PKCS#11 engine type, module path and slot number that identifies the YubiKey HSM.
The -k switch takes the form of a semicolon-separated string with the following format:
<engine id>;<module path>;<slot number>For example:
pkcs11;/opt/homebrew/Cellar/opensc/0.24.0/lib/opensc-pkcs11.so;01You will need to adjust the path to the opensc-pkcs11.so library to match your installation.
An example command line to create a Volt4 using a YubiKey HSM on macOS that has installed the OpenSC software using Homebrew is shown below. Here we are using the default PIN for the YubiKey HSM, you should change this to your own PIN using the -p switch.
volt create "Alice" -s hardware -k "pkcs11;/opt/homebrew/Cellar/opensc/0.24.0/lib/opensc-pkcs11.so;01" -p 123456See the PKCS#11 reference for more information about configuring the Volt4 to use a PKCS#11 HSM.
Using an encrypted root key
Use the p switch to specify a password that will be used to encrypt the Volt4 storage.
By default, the Volt4 will auto-generate a new key at creation and encrypt it with the given password. The tdx Volt will not store the password so you must remember it.
volt create "Alice's laptop" -p secretUse a period . to force the CLI to prompt for the password rather than include it explicitly in the command line.
volt create "Alice's laptop" -p .> enter Volt passphrase: _There is currently no way to recover or reset the **Volt4** password so if you lose it you will not be able to access the Volt.
Using a file-based key
By default the Volt4 key is stored with the Volt4 configuration. If the Battery and Volt4 itself are encrypted this is a fairly safe option.
Alternatively you can create a Volt4 using a key stored on the local file system.
volt create "Alice's laptop" -k /path/to/key/fileIf /path/to/key/file does not exist it will be created.
If the key is encrypted (recommended) you can specify or prompt for the password using the p switch as described
above.
volt create "Alice's laptop" -k /path/to/key/file -p .It's possible to use this option to create a **Volt4** using a key stored on an encrypted USB stick for example. Of course the key file must be available to the **Volt4** when it is started.
Create a Volt4 using a fixed host
By default when a Volt4 is created its certificate is bound to the current (or first) ipv4 network interface
address. If you would like to bind a Volt4 to a specific IP address or domain name use the host and port
command line switches.
volt create "Alice's server" --host aliceserver.com --port 40725Create a Volt4 with a Relay
Use the relay and relay-challenge switches to create a Volt4 with a pre-configured relay. This is
useful in scenarios where the Volt4 is created on remote devices, as it enables the configuration of a remote
connection to the Volt4 via the fusebox to complete the commissioning.
Note that you almost certainly want to use the -k switch to specify the file in which the Volt4 key will be
written. This is because you will need the key to be able to configure the remote fusebox connection.
volt create --name "Alice's NAS" -k ./alice.key --relay https://tdxvolt.com --relay-challenge letmeinWhen the Volt4 is first run it will create and configure the Relay connection and issue a bind request to the Relay Volt. The Relay Volt owner/administrator may need to approve the bind request before the binding is complete.
fusebox
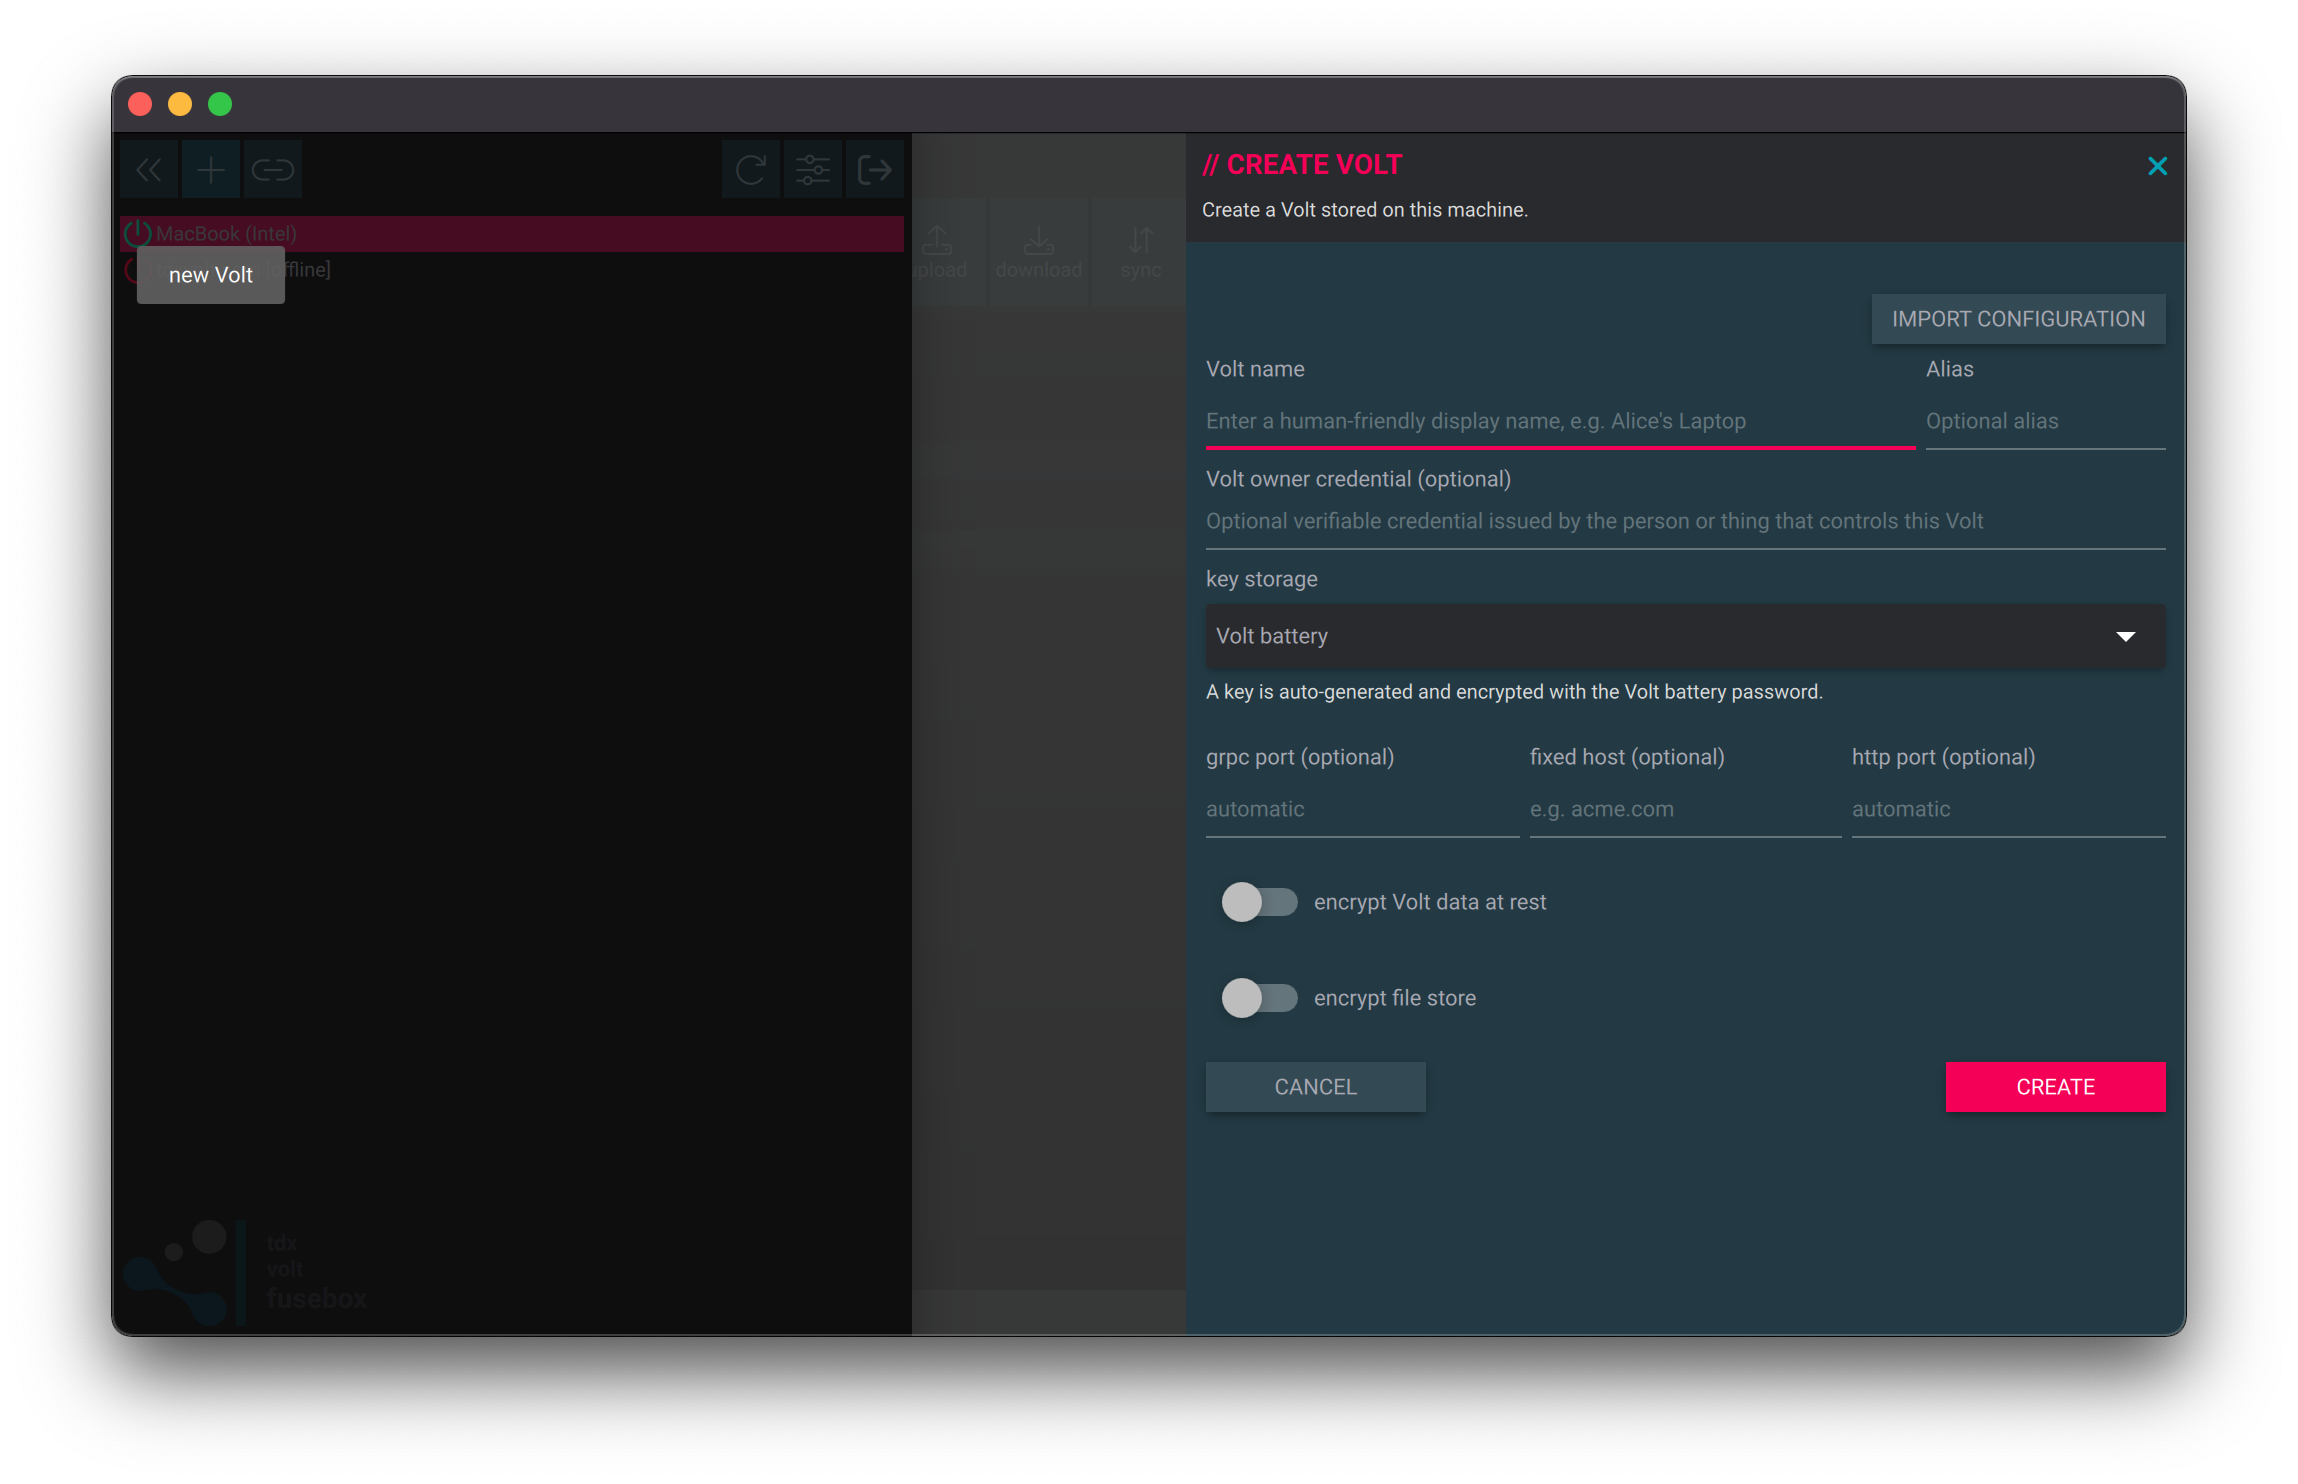
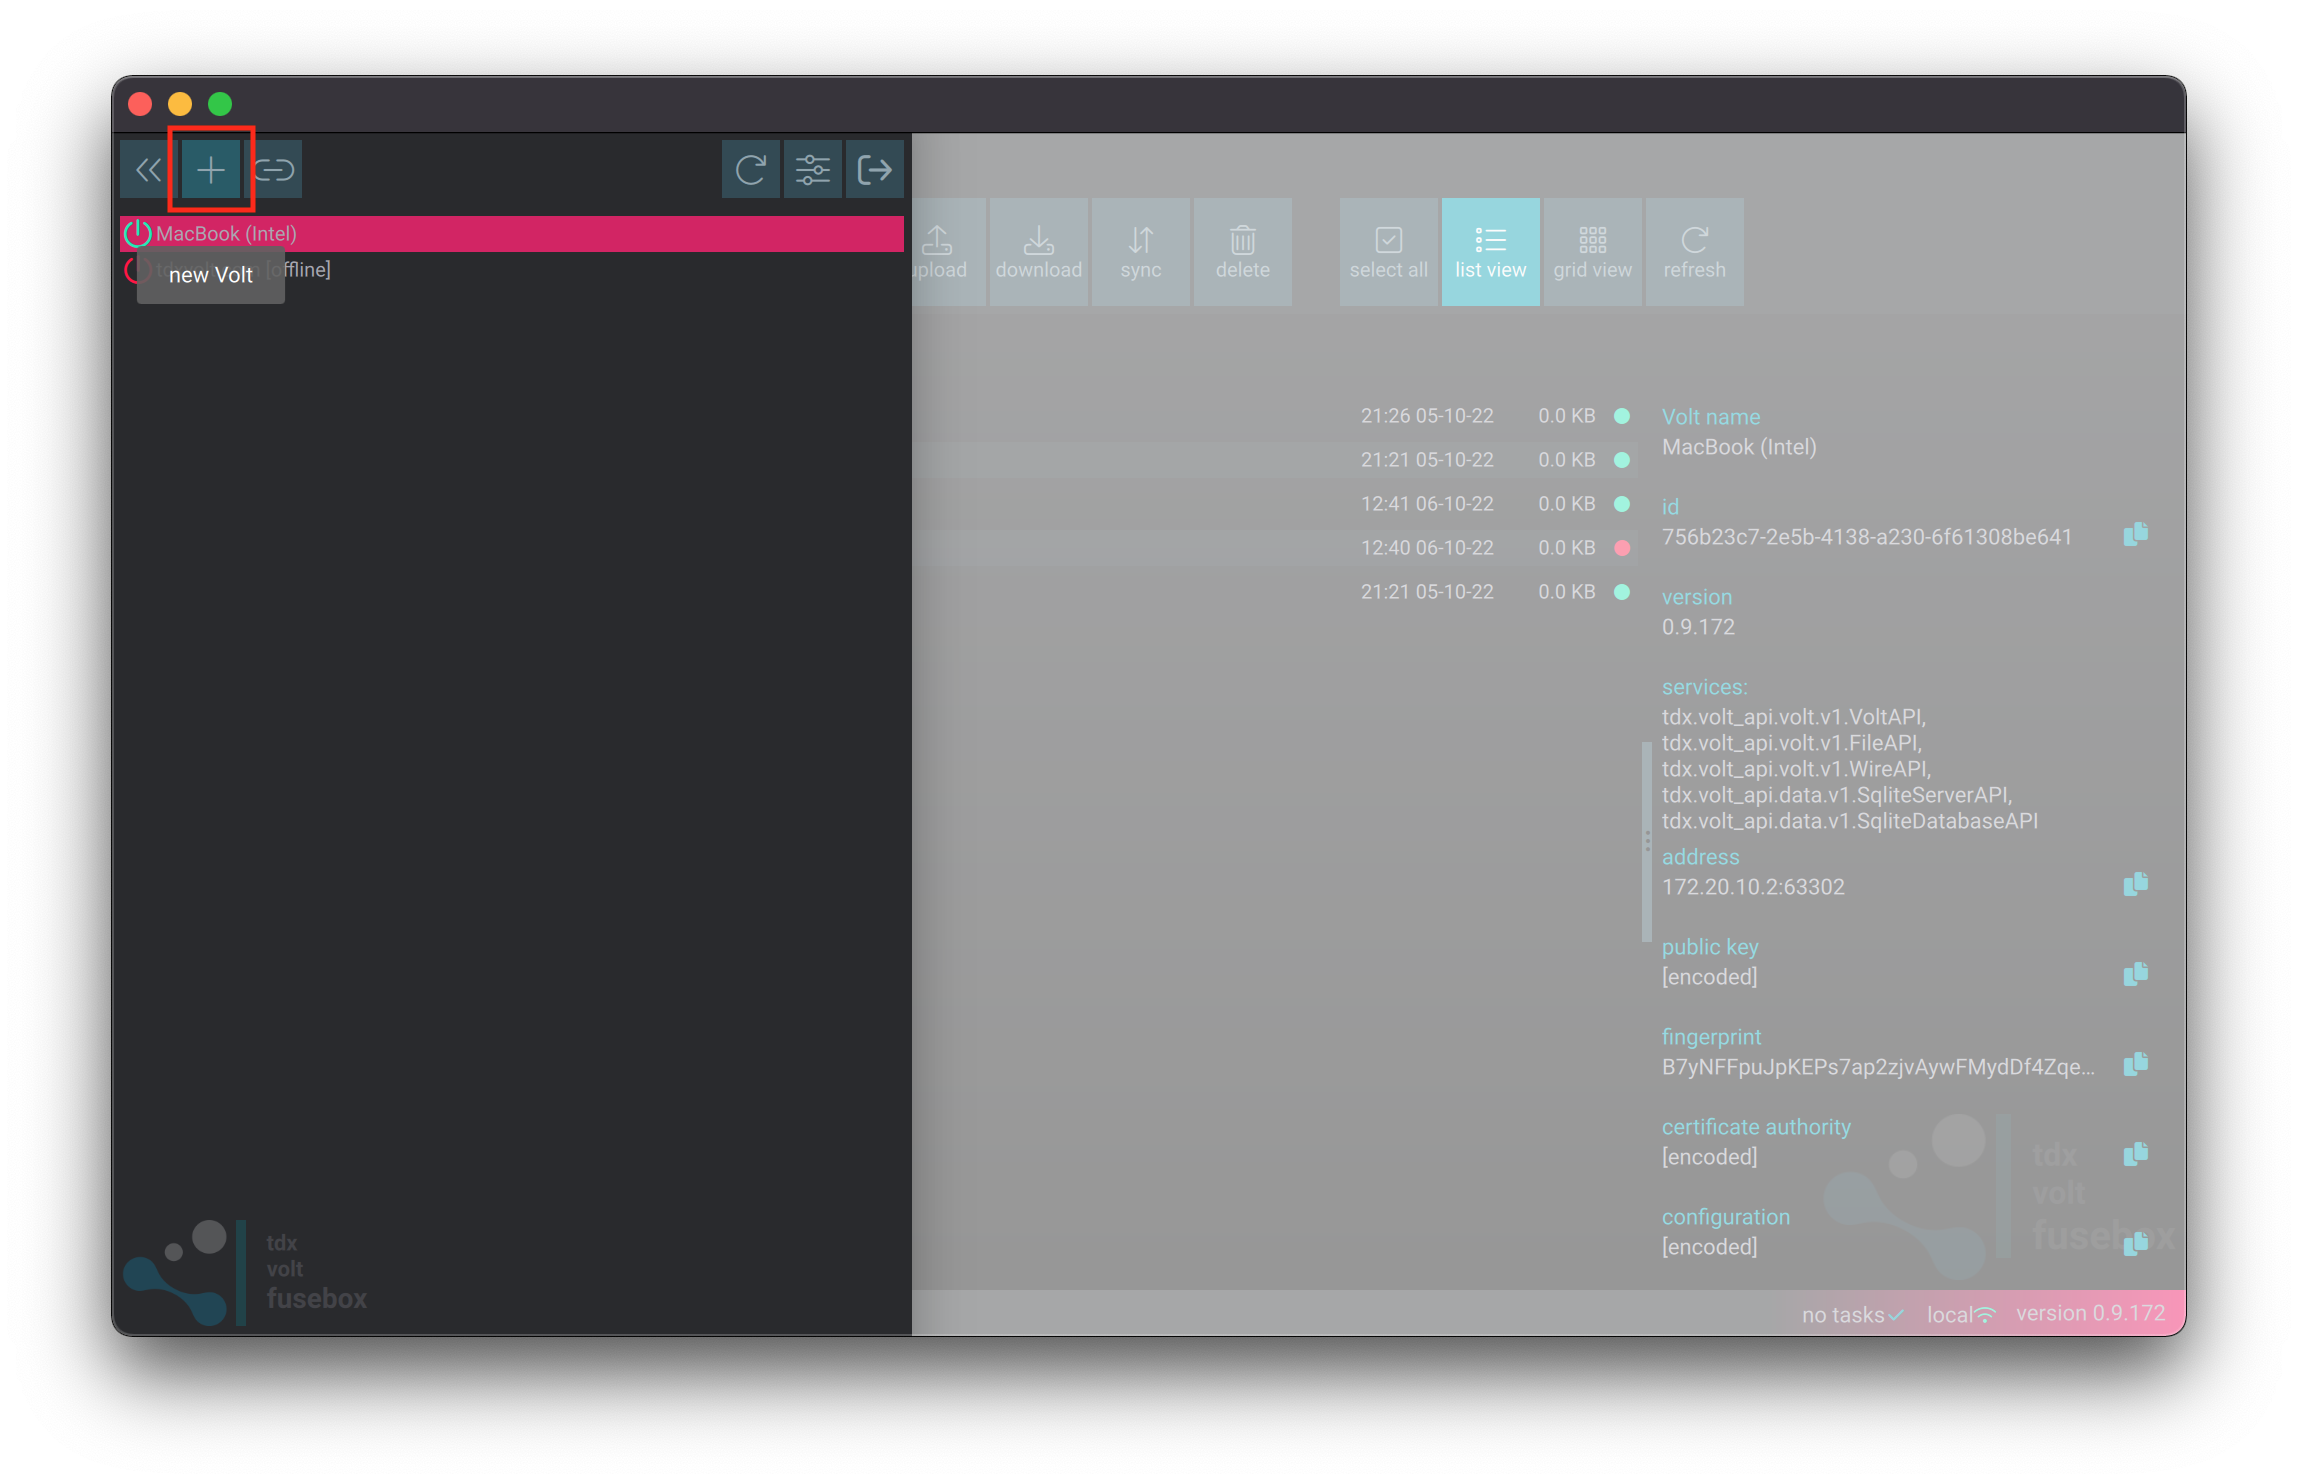
Creating a Volt4 using the fusebox is straightfoward. Use the ‘new Volt’ button on the slide-out menu panel:
Then fill out the form: